Weaving Links Maille
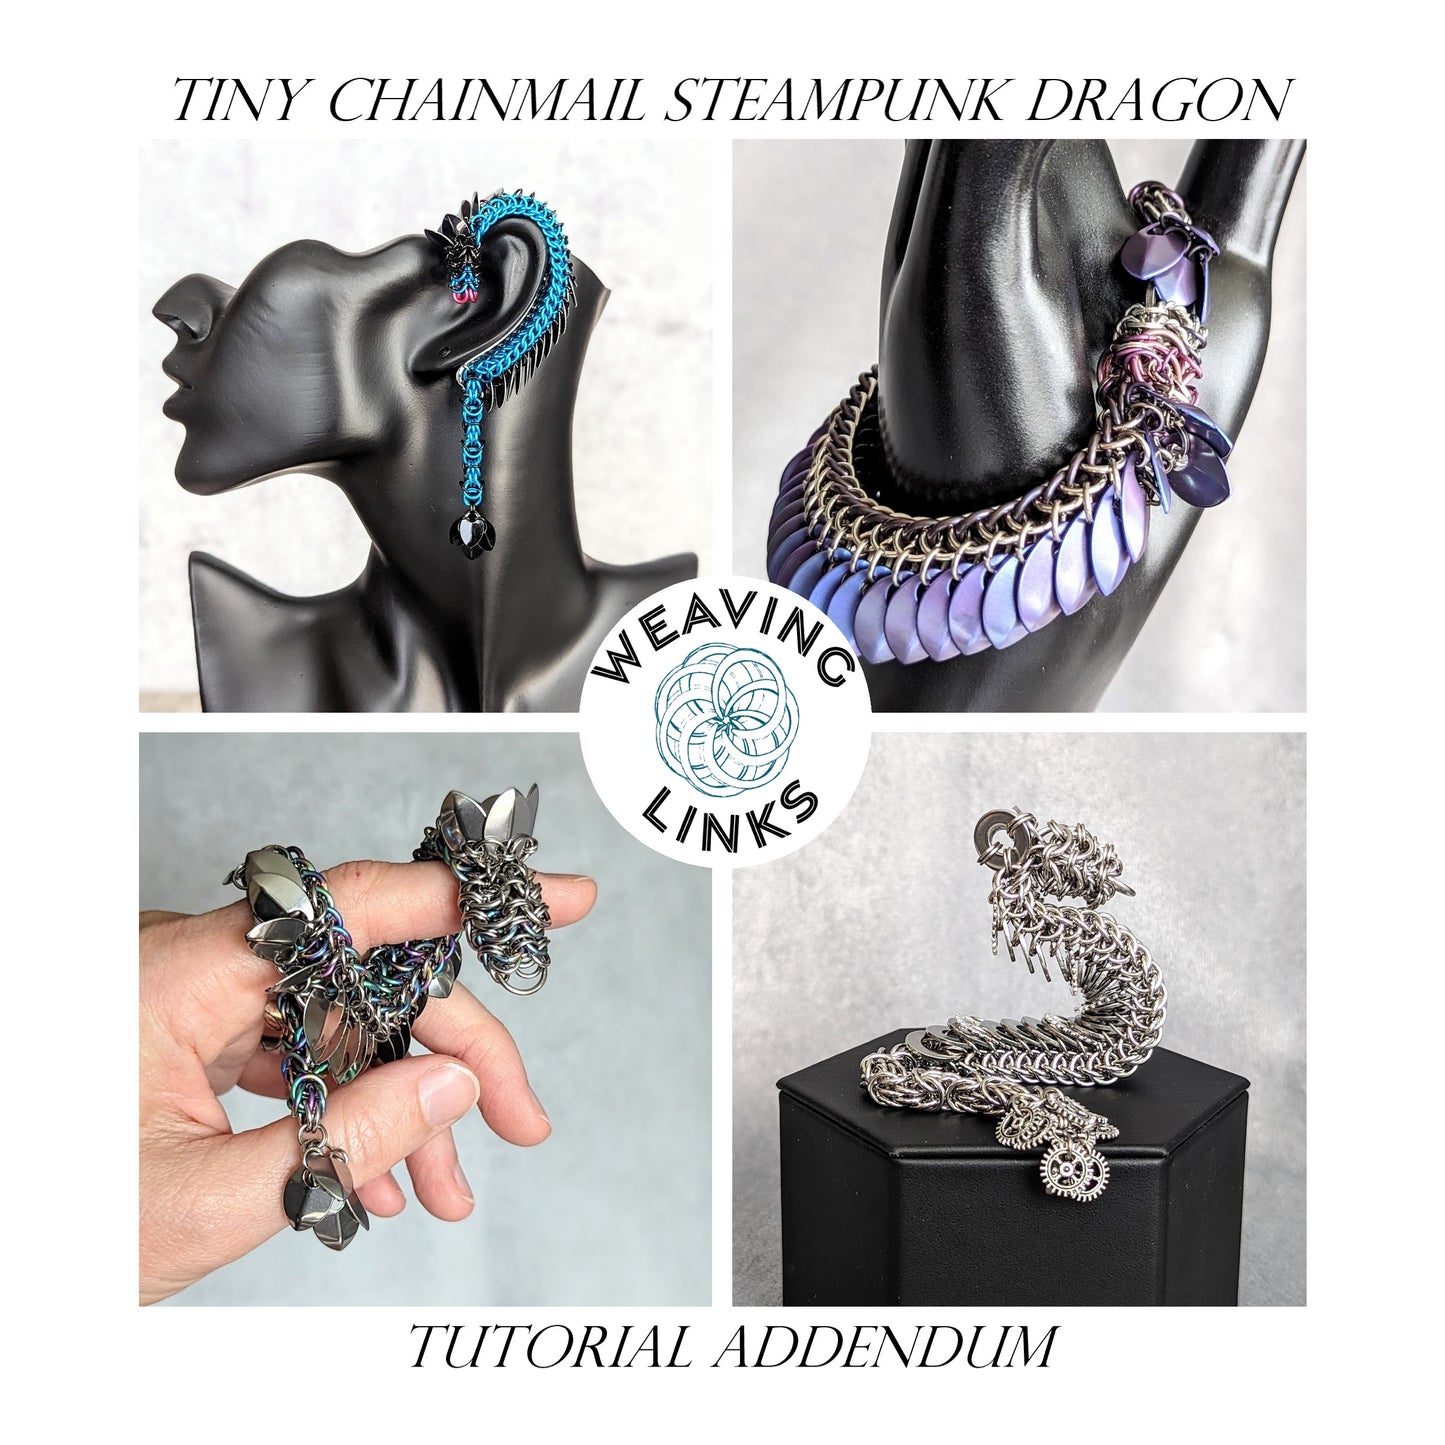
Add-on to Instructions for Tiny Chainmail Steampunk Dragons
Add-on to Instructions for Tiny Chainmail Steampunk Dragons
Couldn't load pickup availability
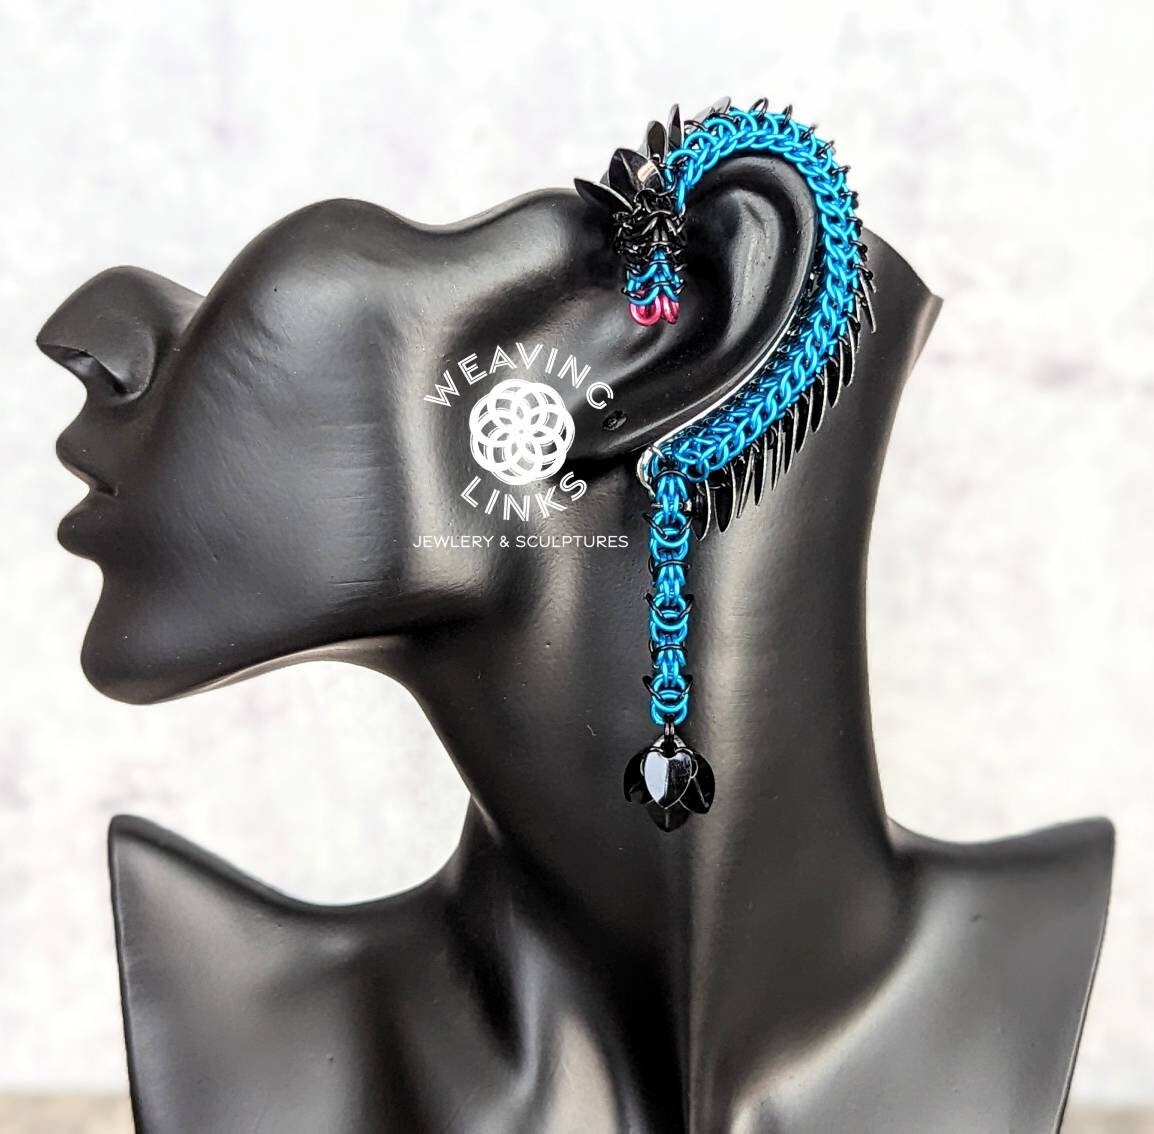
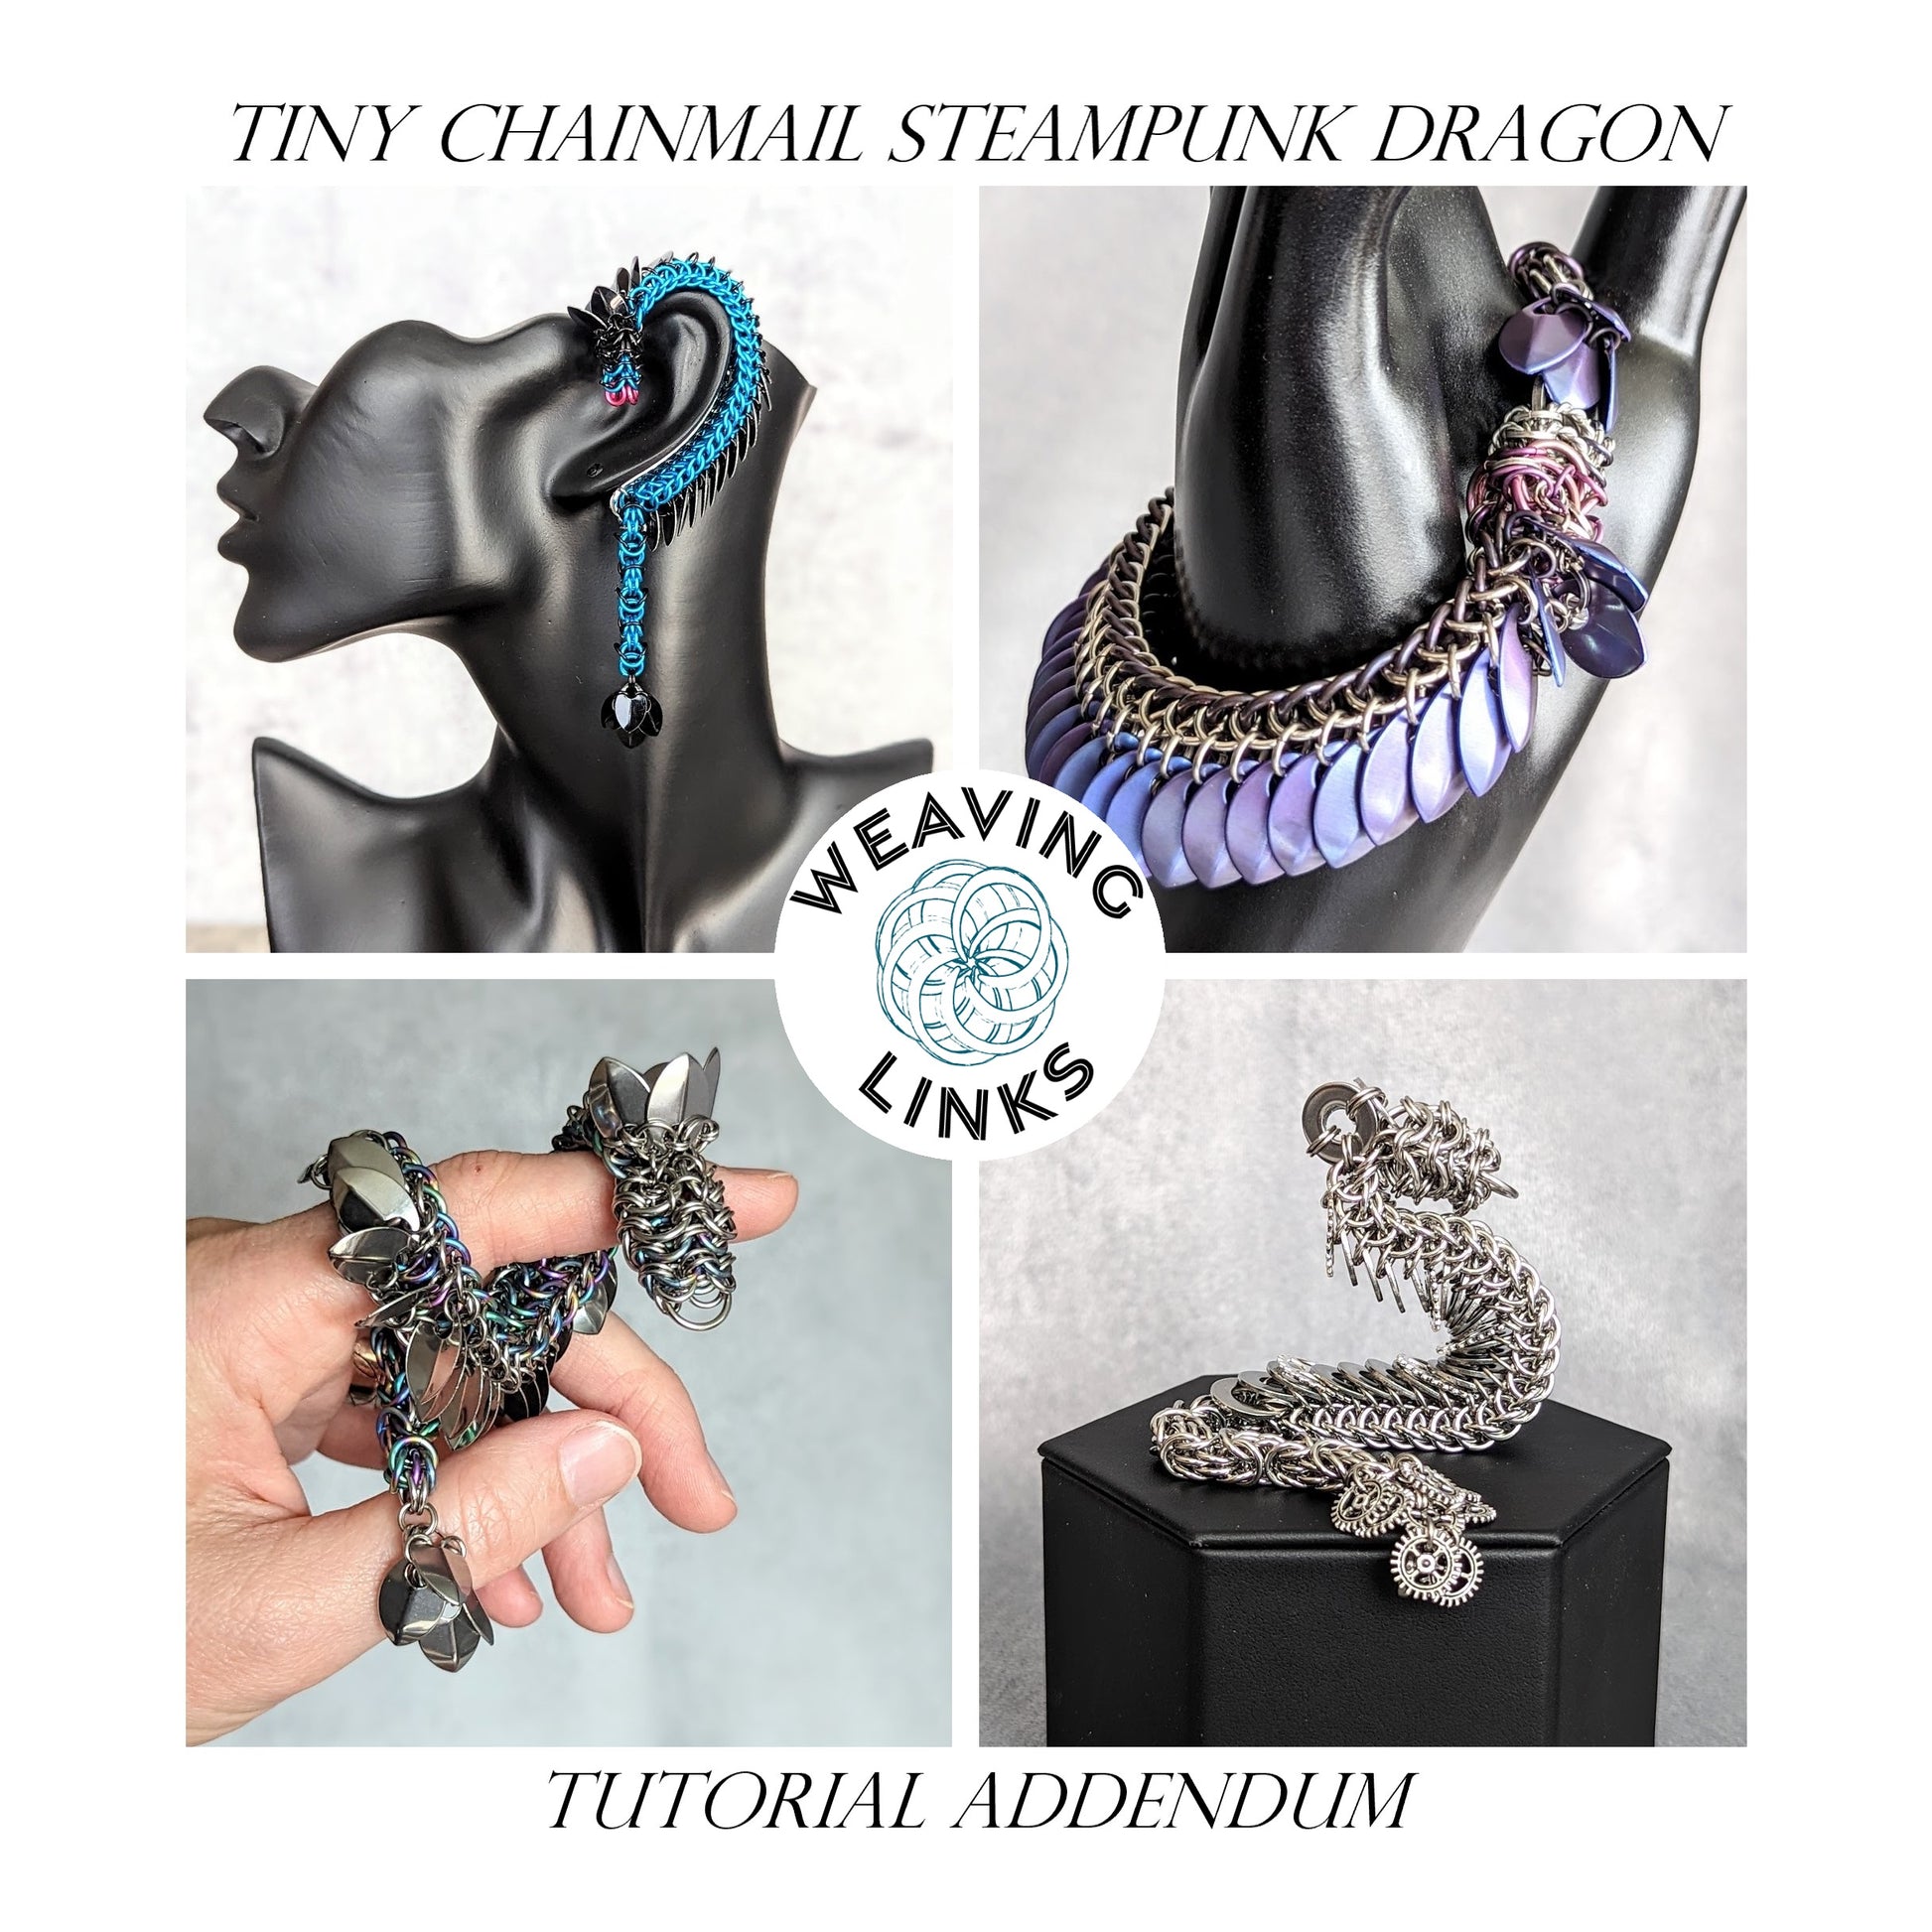
This is an add-on to the set of instructions for building two different types of chainmail dragon necklaces, plus variations like ear cuffs and headbands. If you do not have the original instructions, you can find them here.
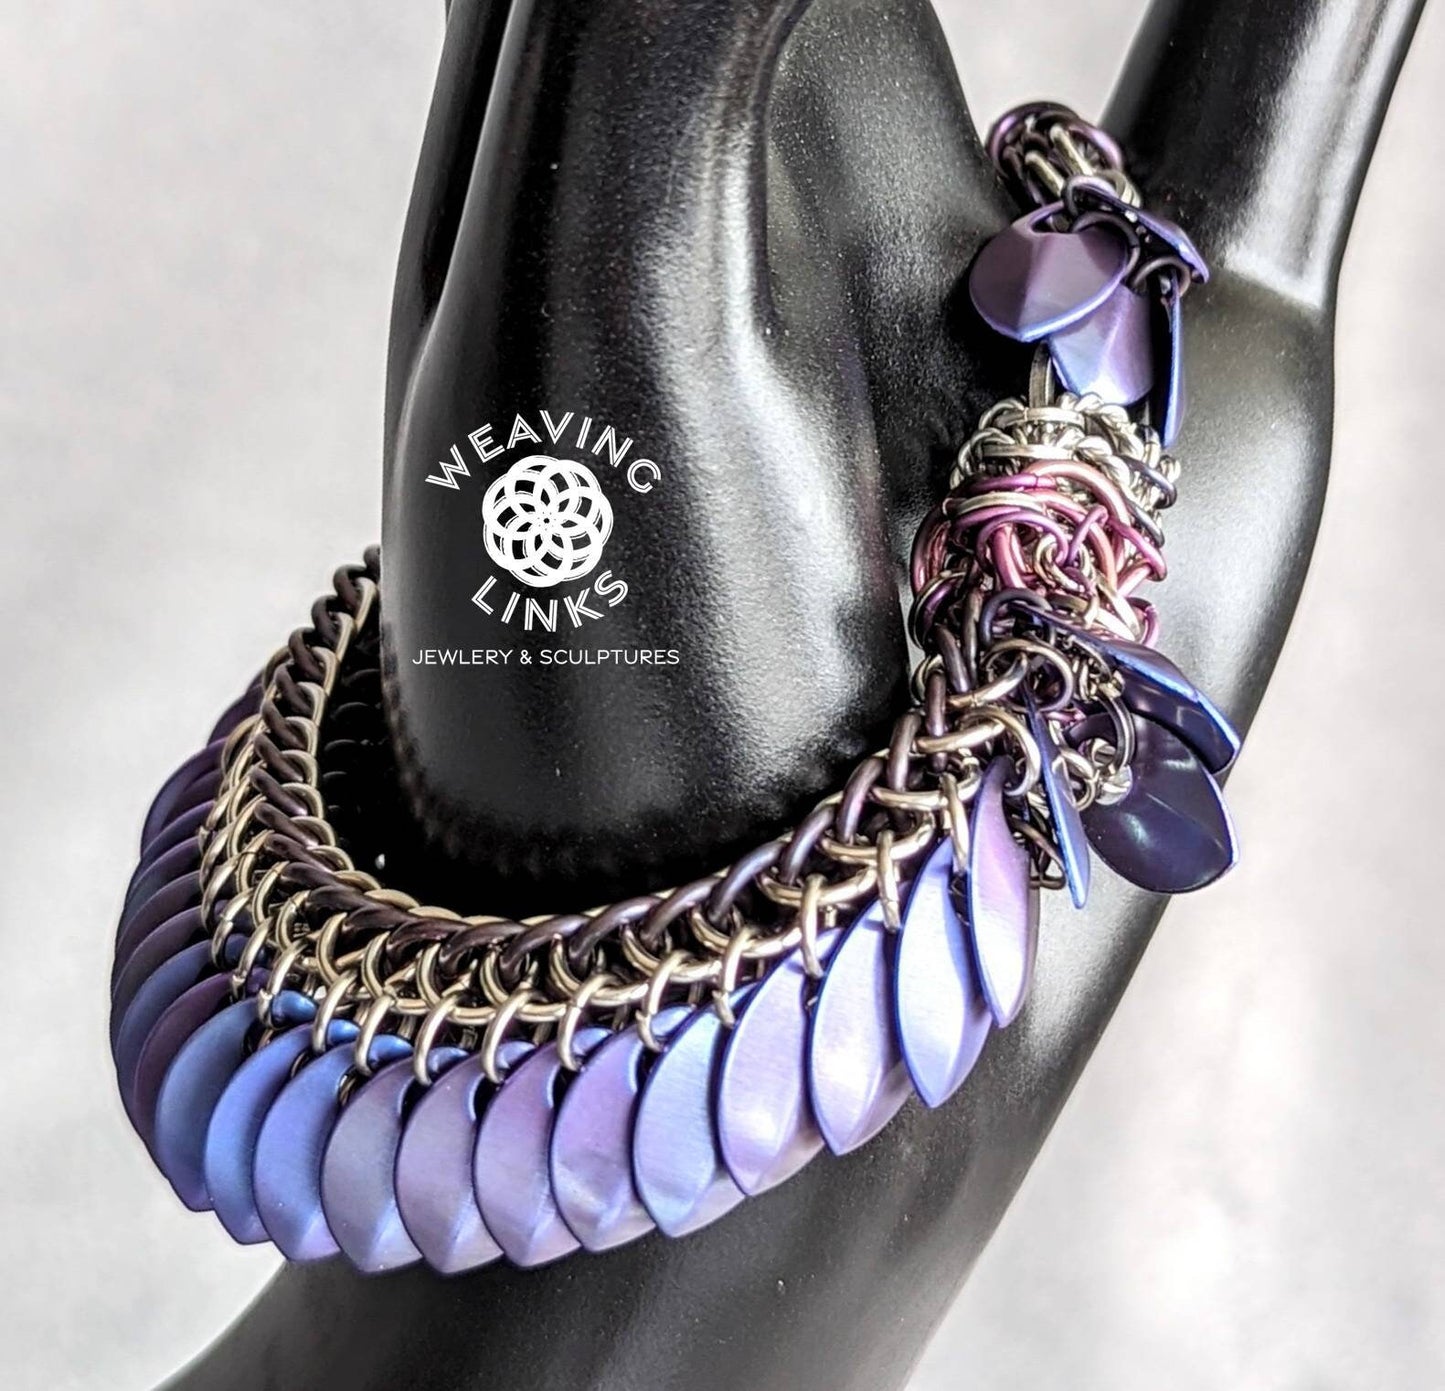
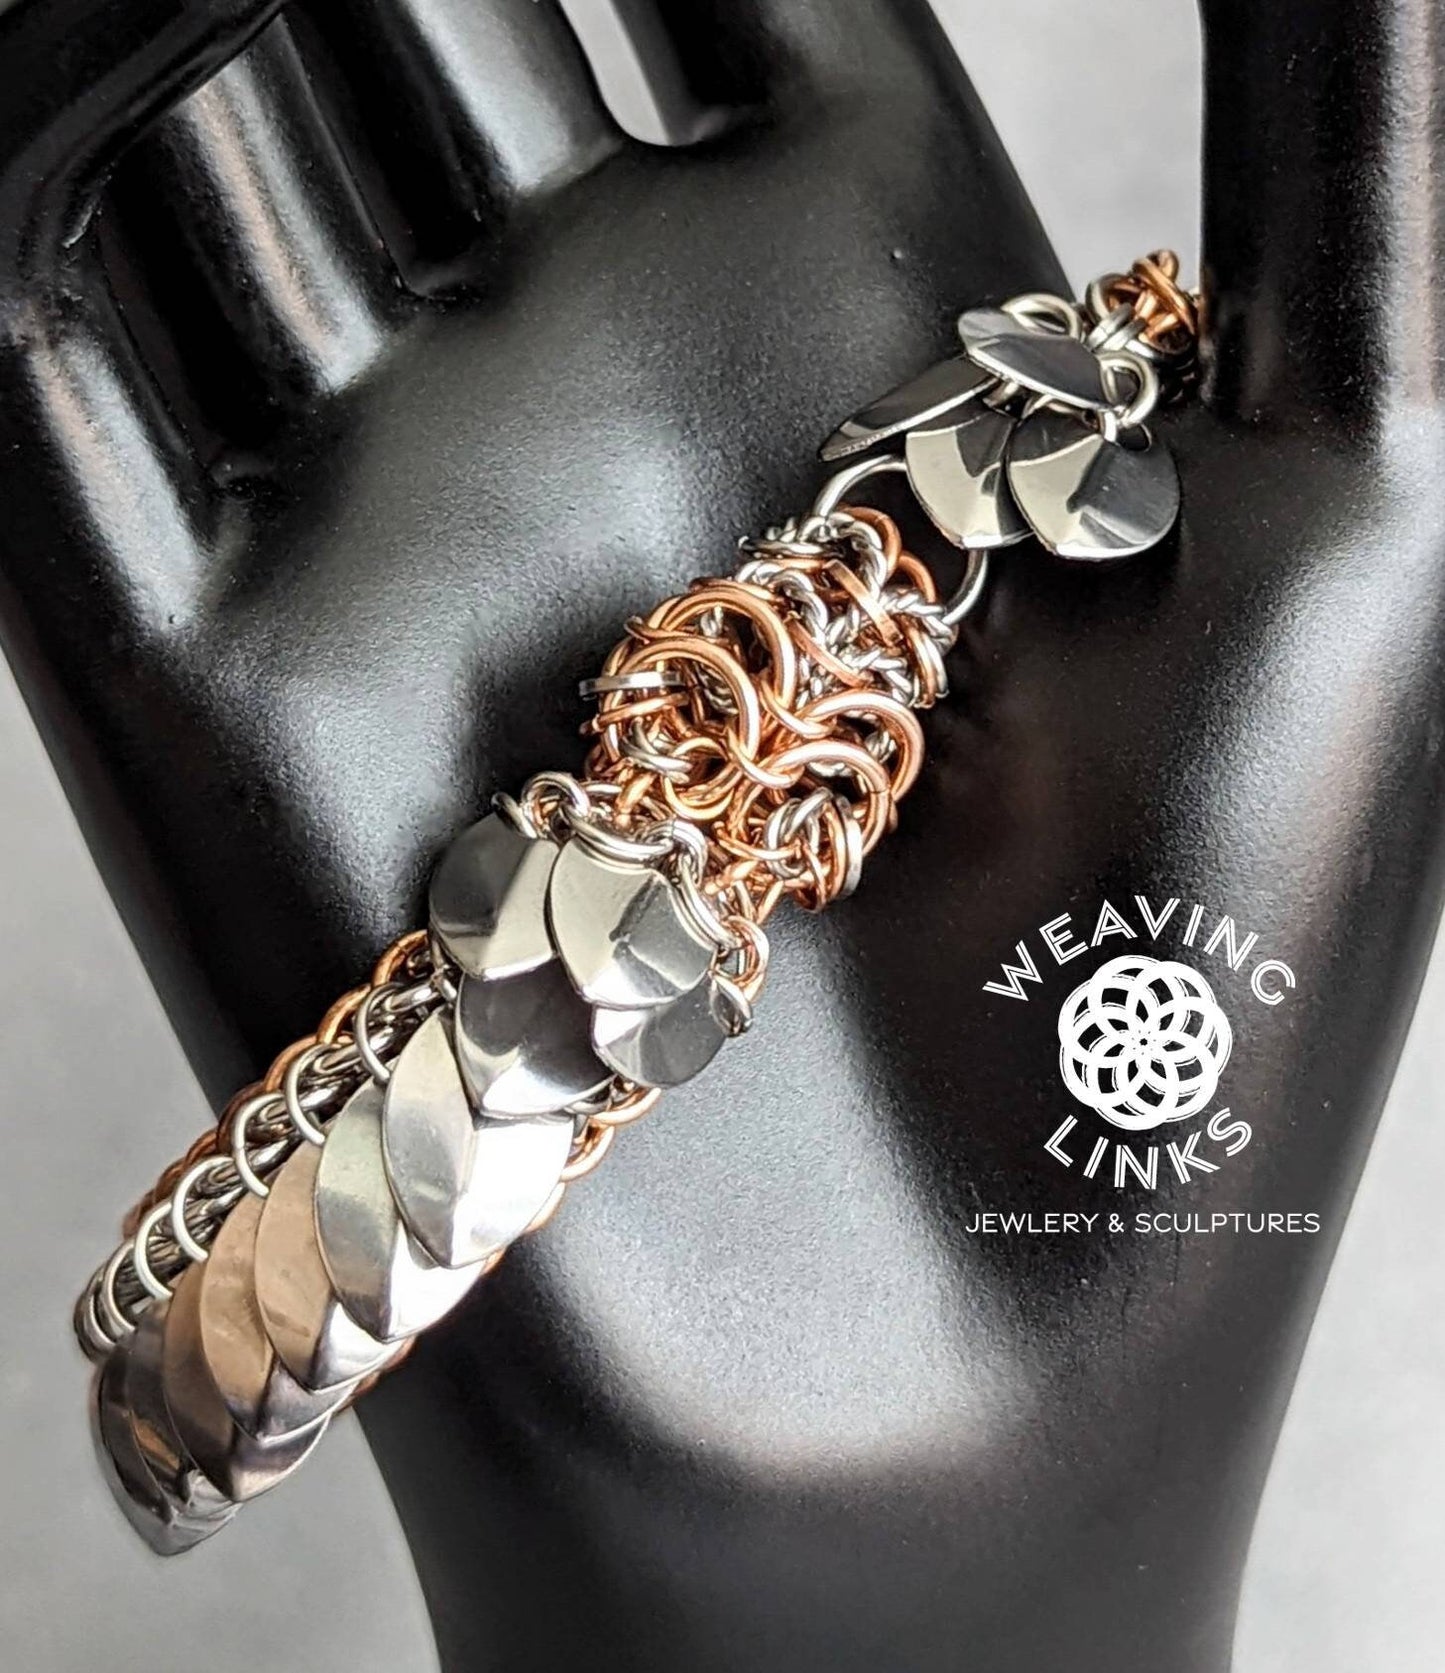
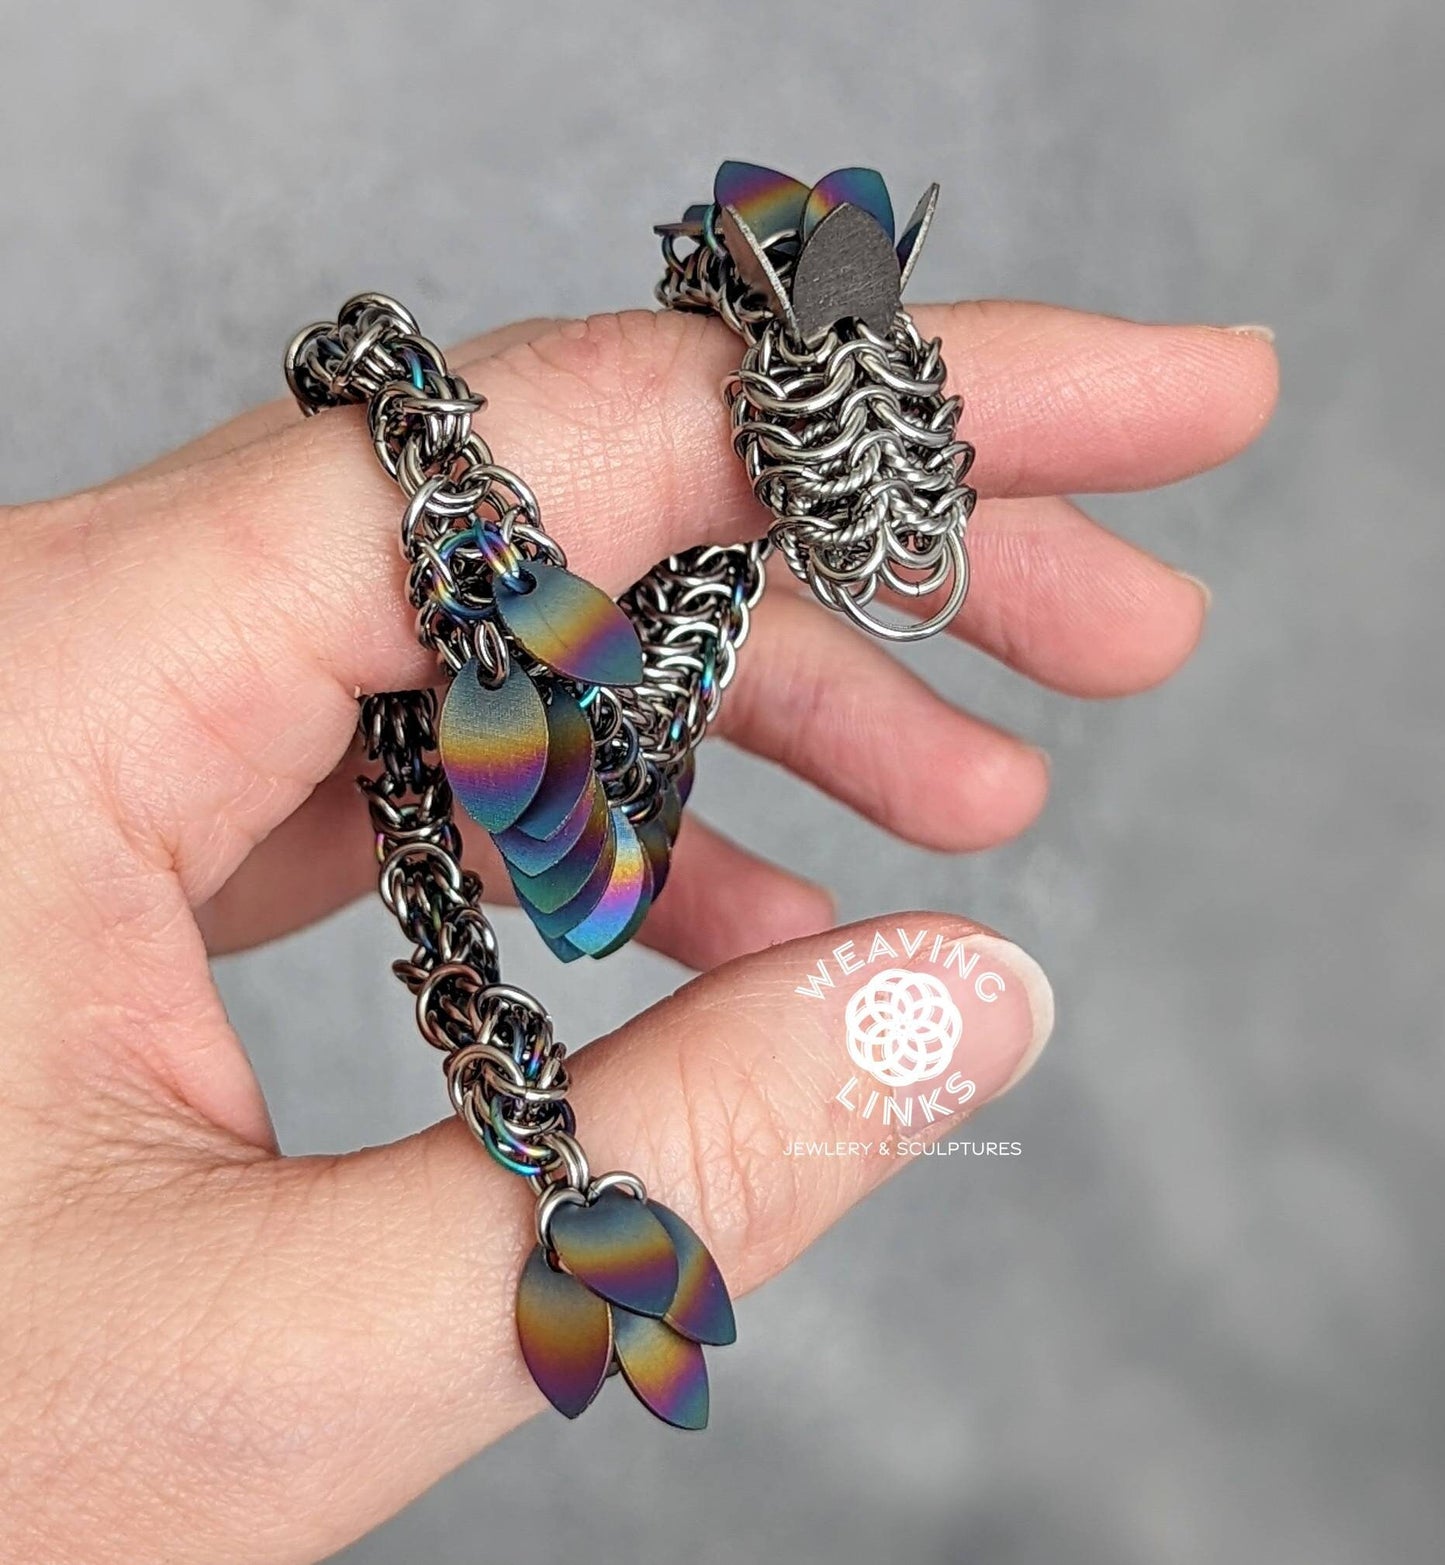
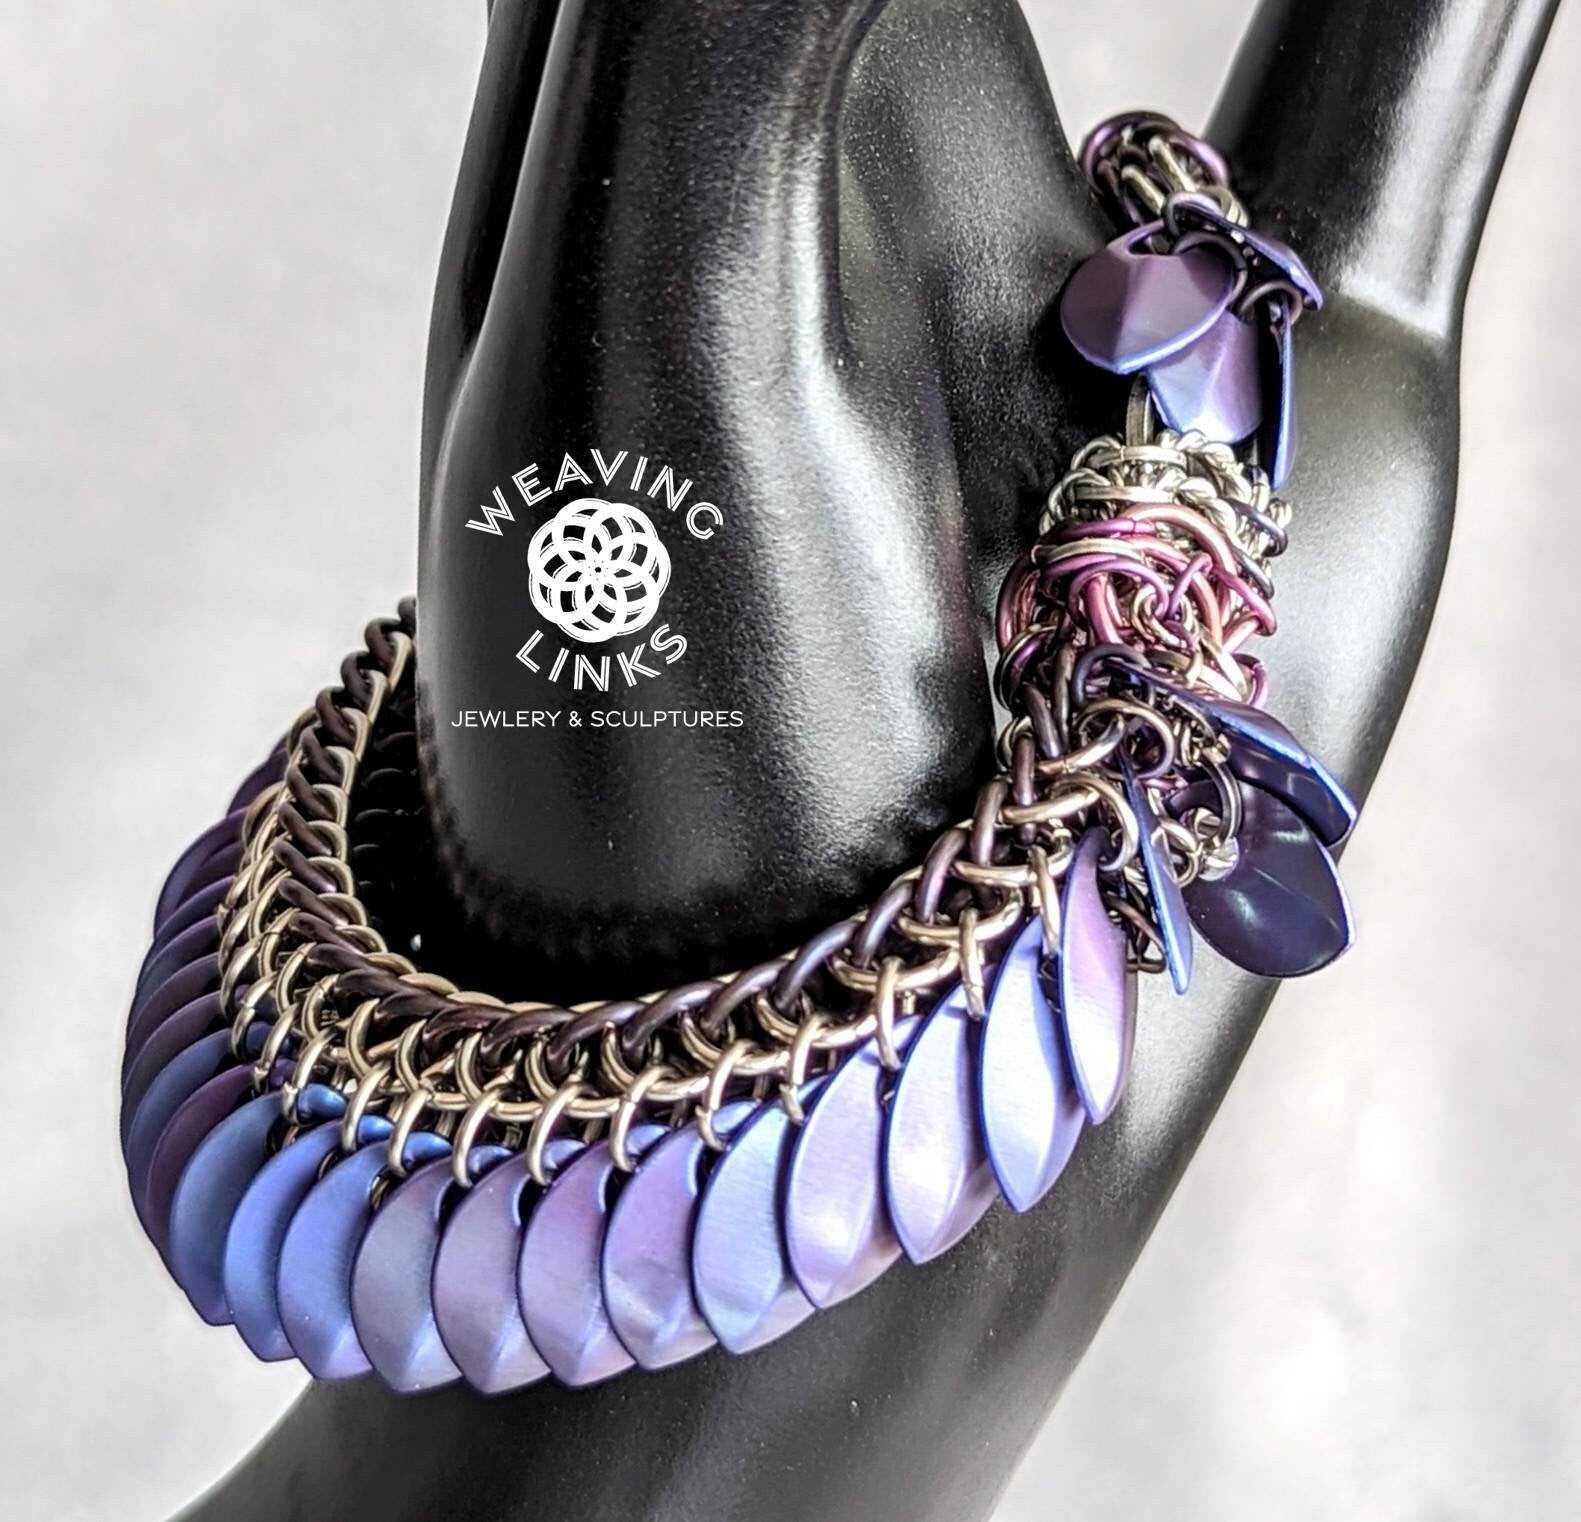
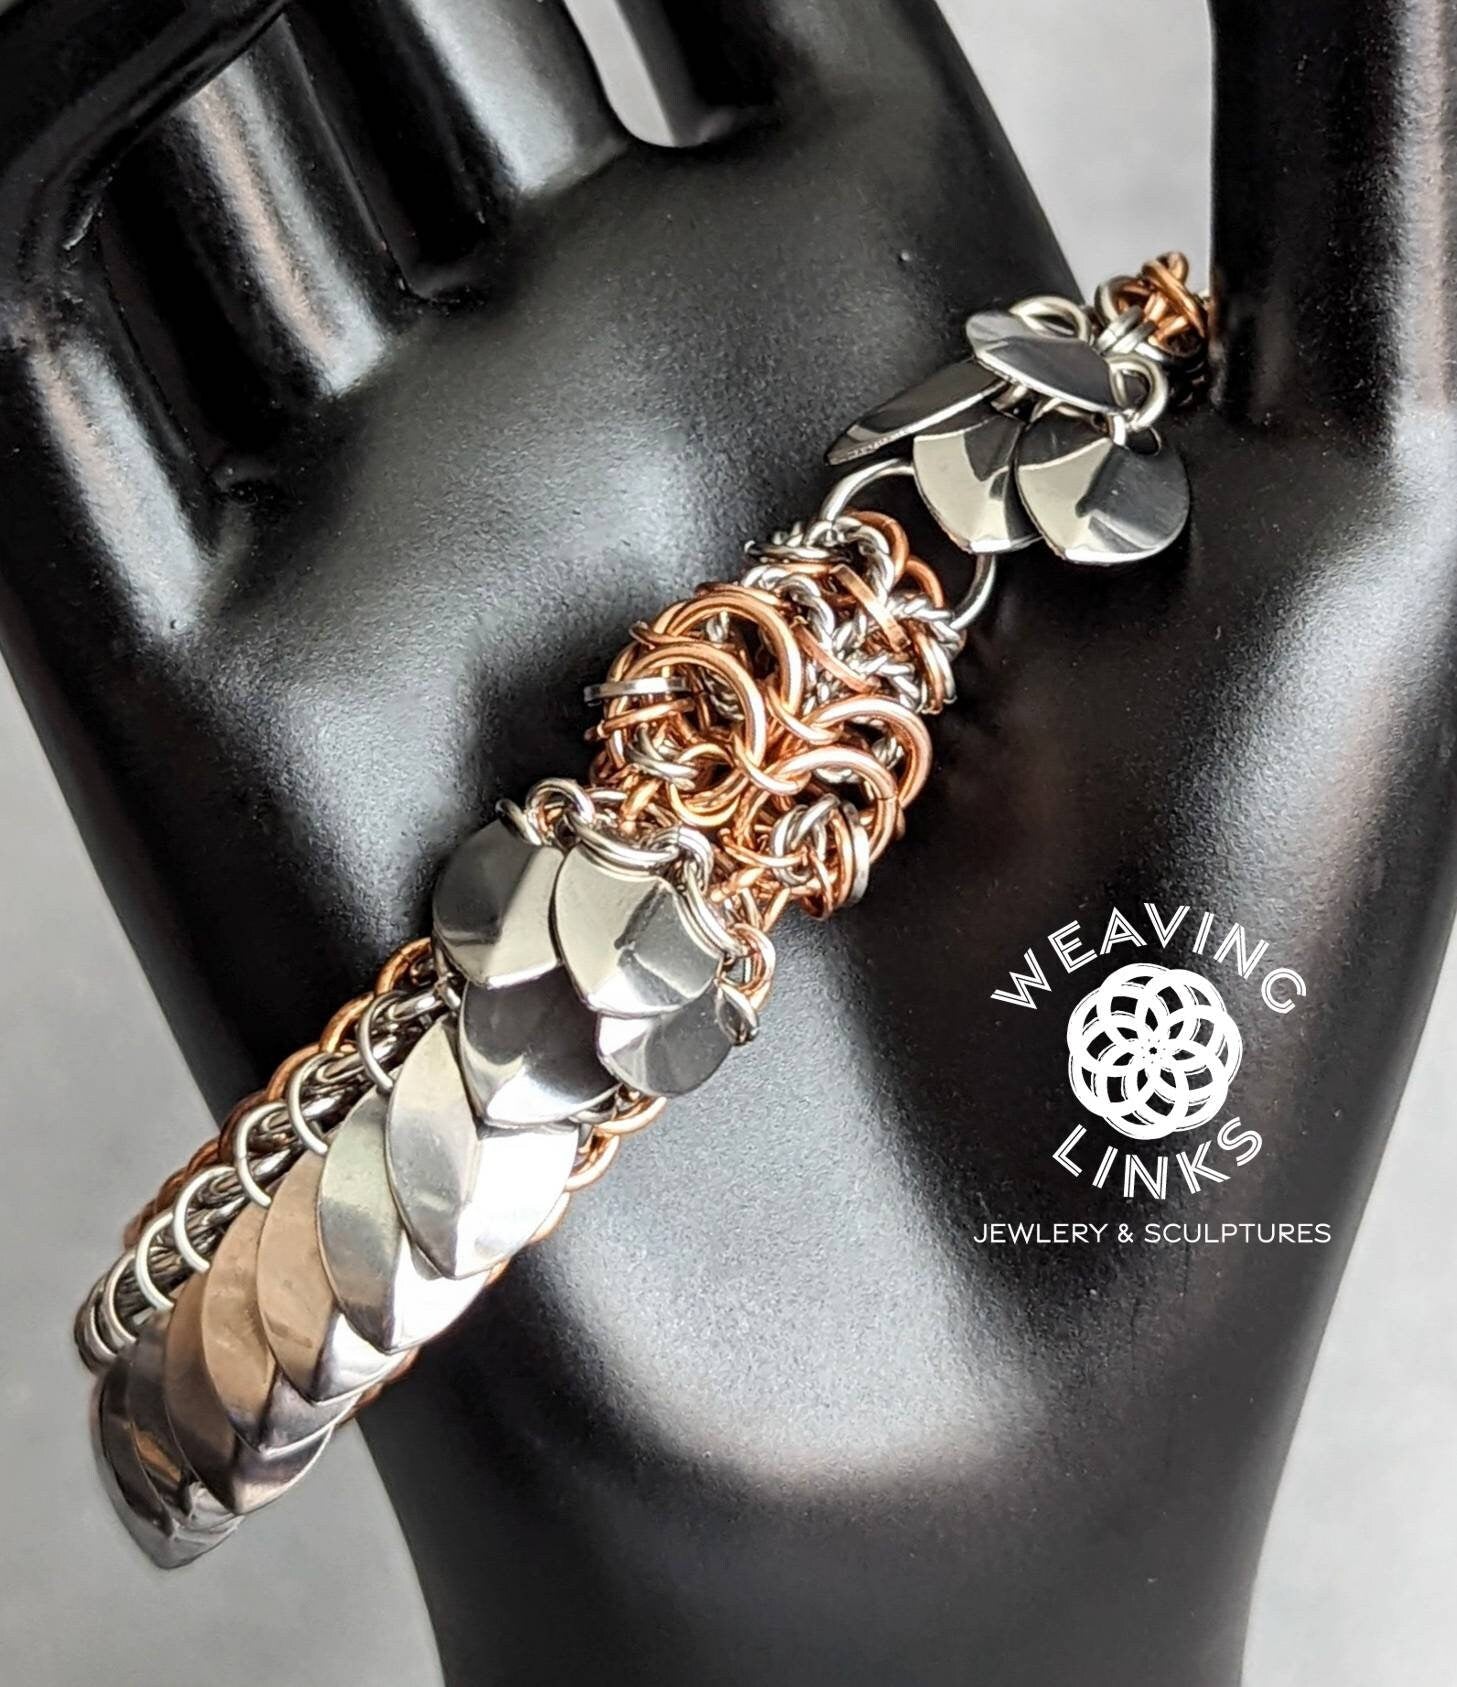
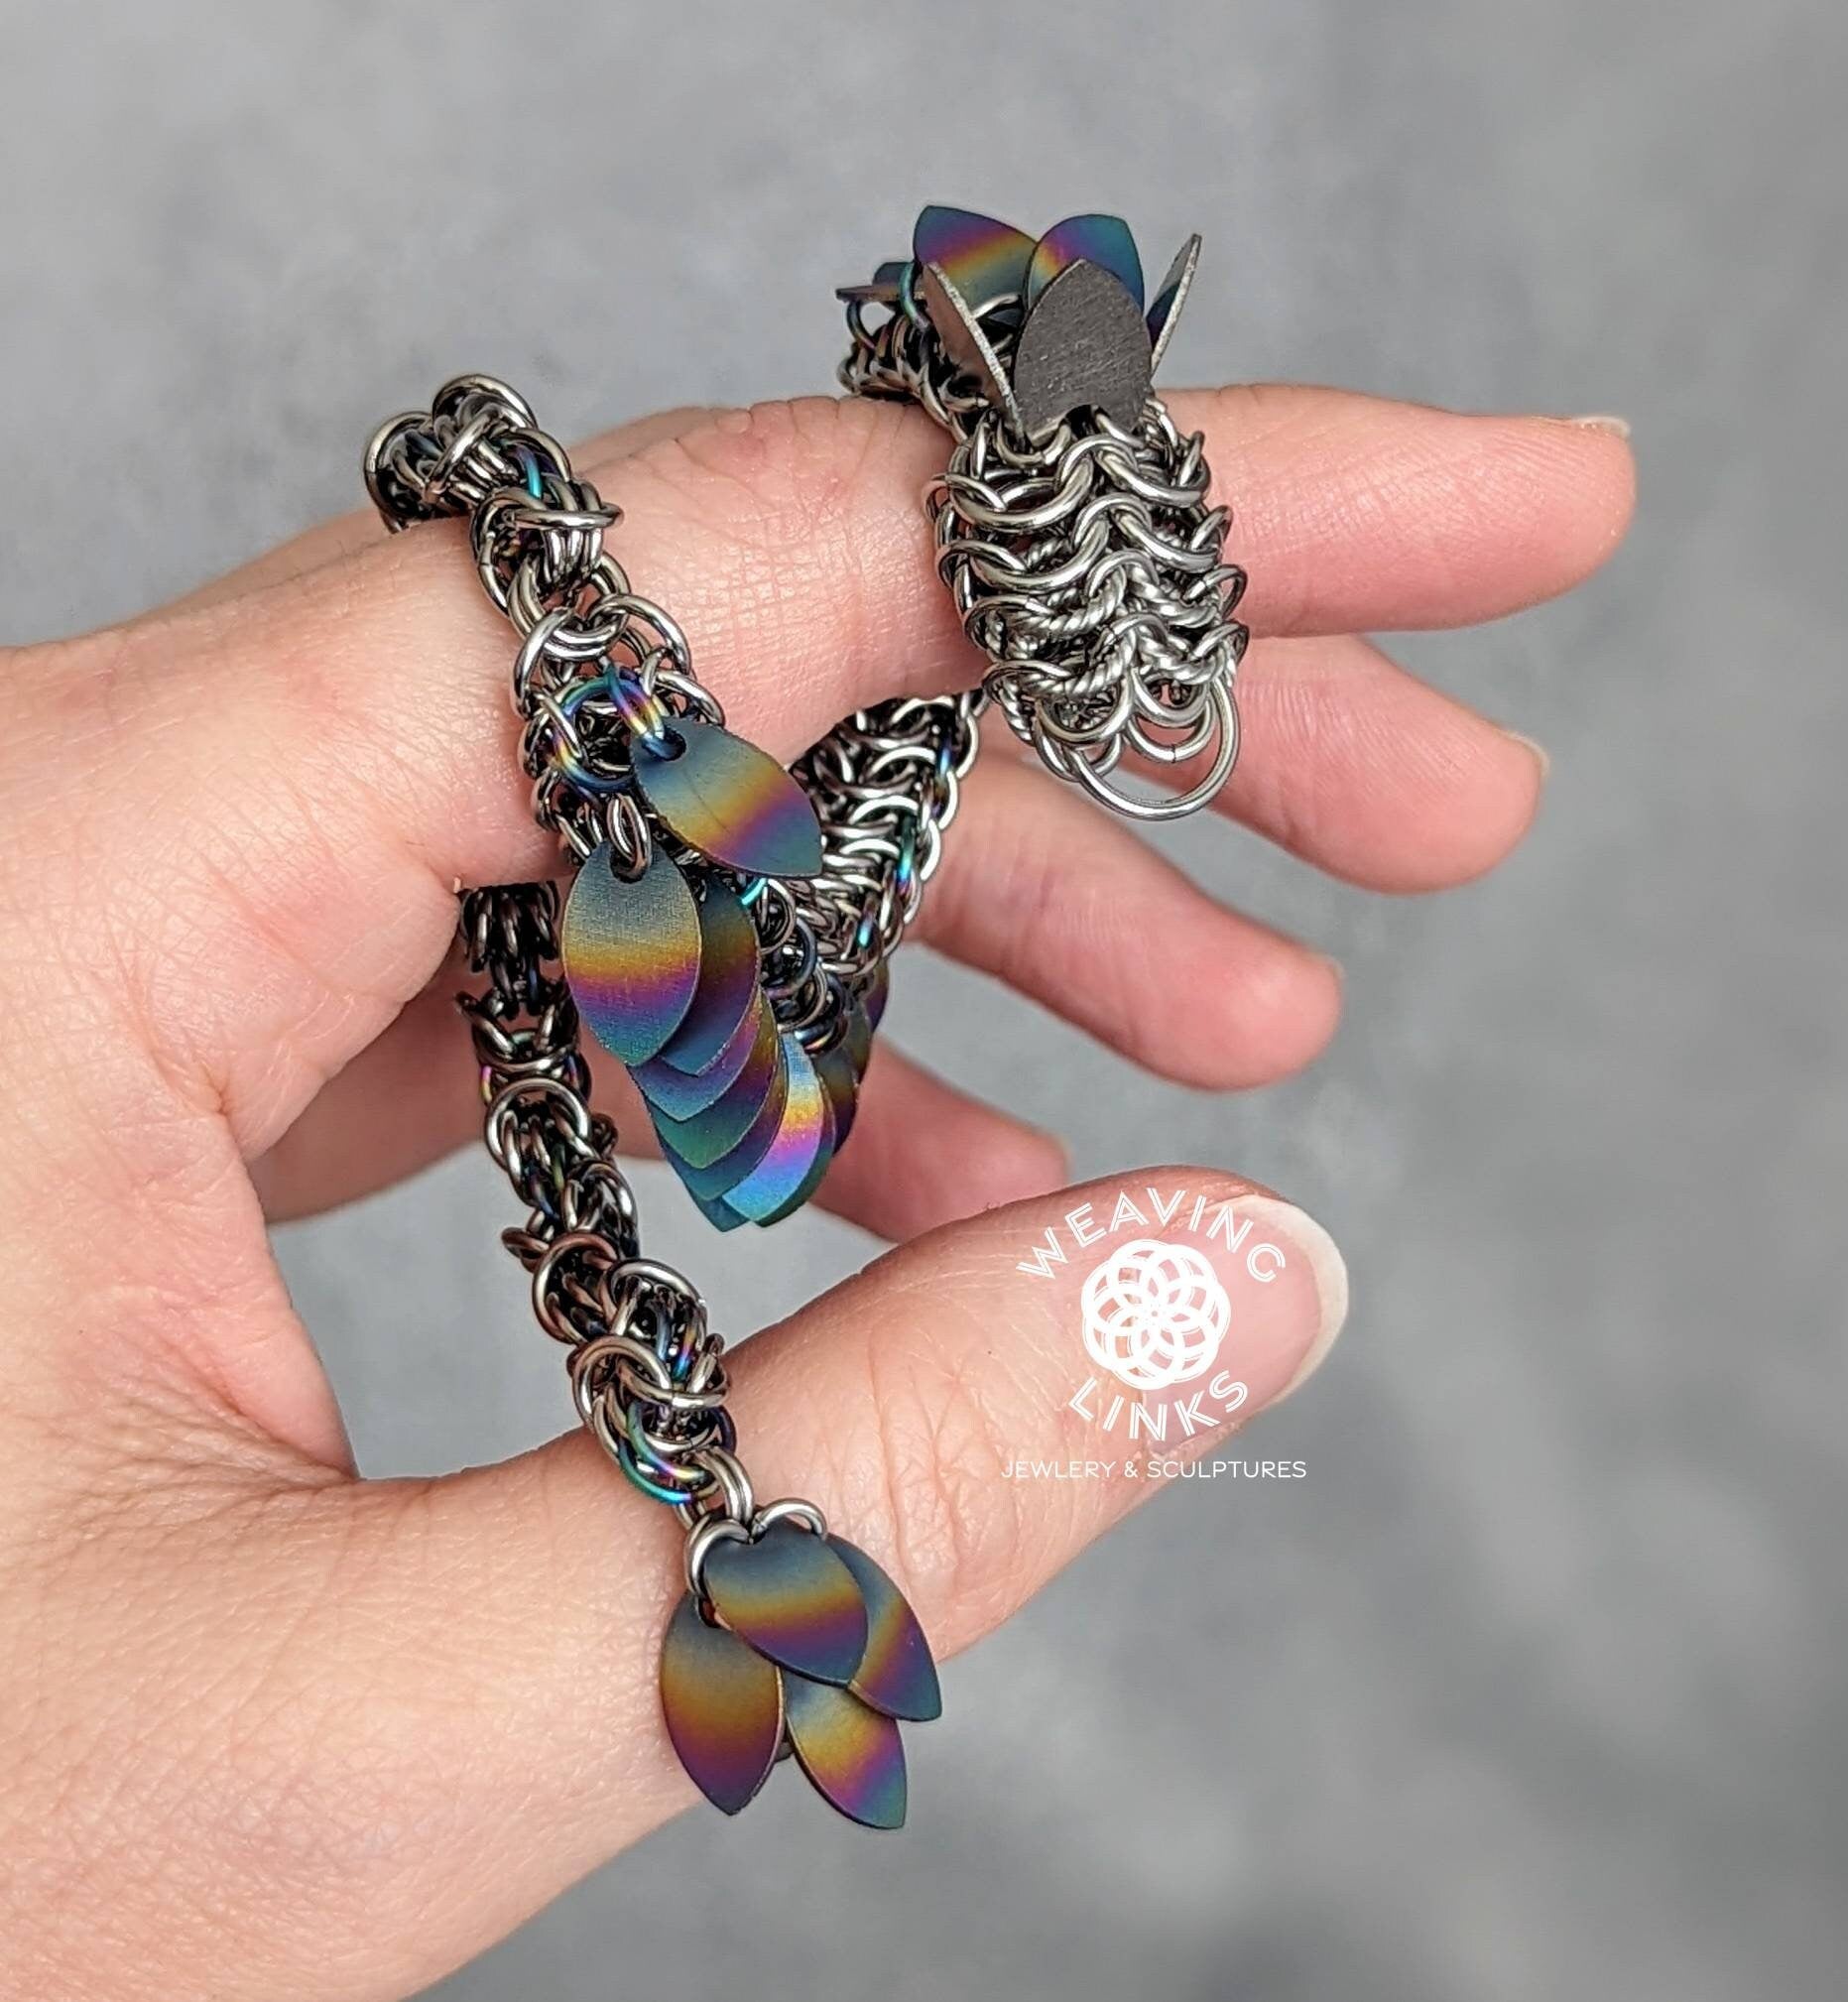
The original instructions contain detailed steps on how to build these dragons in aluminum, but not for other materials like stainless steel, titanium, bronze, brass, copper, etc. This tutorial shows you how to adjust the ring sizes so that the original instructions will work for materials other than aluminum. However, it does not show details of how to build the entire dragon—you will still need the Tiny Chainmail Steampunk Dragon tutorial for that information. Instead, these instructions show you how to adjust the original design.
These dragons are a great fashion accessory, especially when made in a wide variety of materials, and can also sit up on their own. I recommend making a regular sized dragon before you try this one (The Ring Lord has a great tutorial). There are some very tiny rings that go into awkward spots, so I’ve classified these instructions as intermediate.
This tutorial has been tested with the following manufacturers:
-Rings from The Ring Lord
-Rings and scales from Metal Designz
-Scales from Steampunk Garage
-Stainless steel washers from my local hardware store
If you have any questions, please don’t hesitate to send me a message via the Weaving Links Etsy page, Facebook page, or Instagram. This tutorial is for personal use only. It, or its contents, may not be reproduced or published without prior written consent. You may sell the items you make with this tutorial, just give design credit to Weaving Links.
If you would like a dragon that’s already made, you can find them here:
https://weavinglinksmaille.com/products/small-dragon-bracelet-and-sculpture
https://weavinglinksmaille.com/products/tiny-dragon-bracelet
Share
